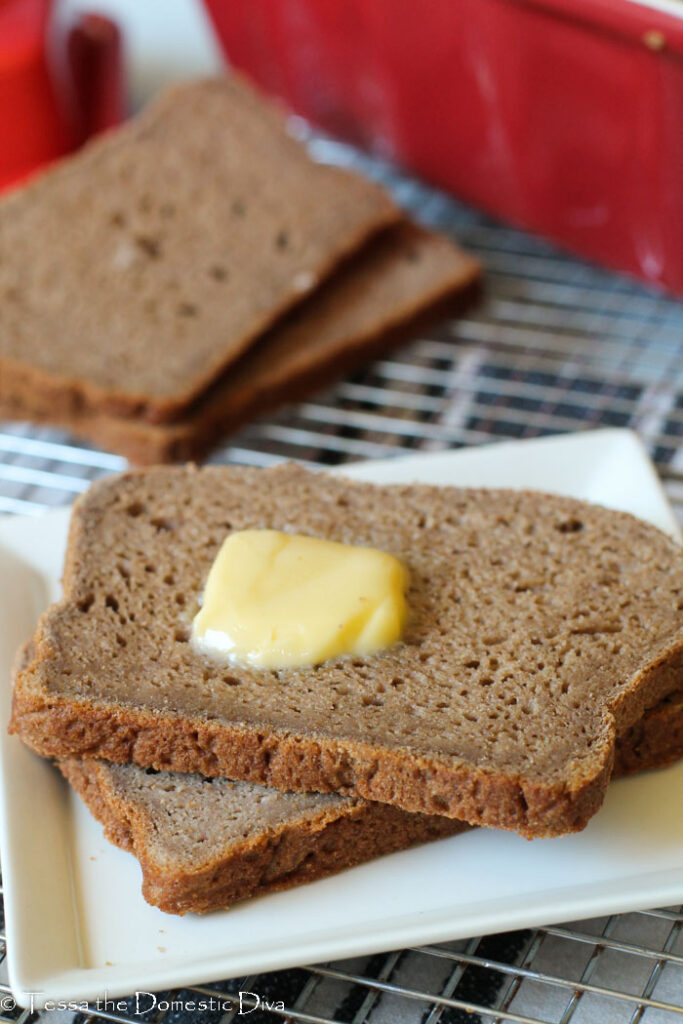
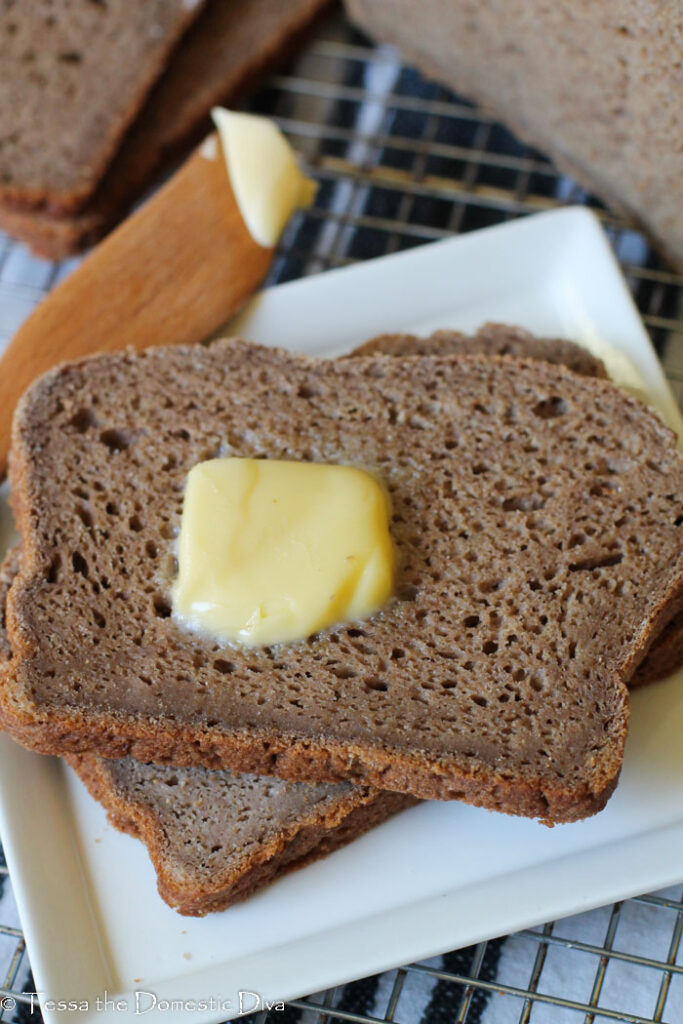
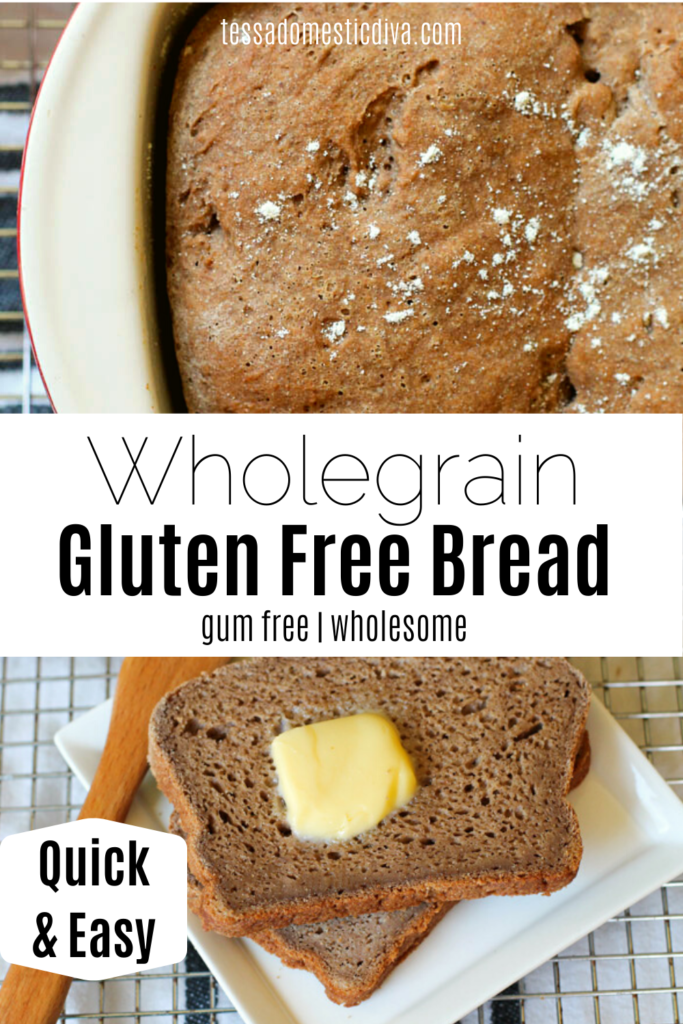
A delicious and tender loaf of wholegrain gluten free bread!
Like the brown bread of my youth, this gluten free yeasted bread is pliable and wholesome with a hint of sweet.
It holds up well to any preserves or favorite nut butter and makes a mean egg sandwich! A lovely dense texture you will find irresistible!
I set about creating a wholesome every day bread for my son and the rest of the family to enjoy. We really wanted a bread that held nicely for many days and that was simple to prepare. I have used my soaked teff bread which is also vegan primarily for years, but was wanting a recipe that would perform well as a loaf, and that did not require advance planning like my soaked version.
I played around with several flour combinations, and while all were tasty, this combination I share with you today has been my favorite!
If you do not normally have teff flour on hand, I highly recommend you order some or pick it up at your local grocery store. It is much more common and easier to find than it was 10 years ago when I first fell in love with it. It lends the classic brown bread flavor and color to this bread, and is easily the most whole wheat tasting of the gluten free flours.
As an added bonus, it is exceedingly nutritious and good for you and your family. And luckily, I have endless recipes using this sweetheart of a flour. Type teff into my search bar, or maybe try our absolute favorite gluten free and vegan teff pancakes, gluten free empanadas, or my vegan gluten free chocolate cake as recipes that all feature teff flour.
Making the best gluten free bread tips:
Proofing yeast
This step is essential to ensuring your yeast is alive and well ad ready to ‘lift’ your gluten free bread! I always use regular active yeast, it provides more consistent results for me. Yeast should be stored in the fridge, and a small amount of any sugar is necessary to ‘feed’ the yeast in bread. You’ll want to use warm-hot water. You should be able to comfortably leave your fingertip in the water. If you have an instant read thermometer, you’re going for 105-115° Fahrenheit. If your yeast doesn’t develop a nice and poofy, creamy looking foamed top, either your yeast is bad, or the water was too cold or too hot. Yeast in finicky like that!
Rising tricks
Be patient with rising if necessary. I live in a cool pacific northwest climate, so 3 seasons out of the year, it can take a full hour or more to get my bread to rise to the appropriate level…but summer months I can sometimes cut that in half! I like to preheat my oven to 200° then turn it off (I’ve definitely had mommy brain moments of forgetting that important step, lol)! Let the bread rise in the warm confines of the oven. It speeds the process significantly. If you let it overrise, the texture and structure of the bread will be thrown off, so set a timer and keep watch!
Troubleshooting a wet or gooey middle
The two primary culprits would be either too much moisture, or not cooked long enough. Your elevation and ambient humidity will be unique to mine, so a couple of strategies to try: Reduce the water by a few tablespoons. Or replace 1/4 cup water with another egg. I like to use an instant read thermometer (I like the folding style since it takes up less space in the drawer!) to test the internal temp of the bread to help guide me. I look for a minimum of 185° up tp 200° Fahrenheit. If the top is getting too brown, place a piece or parchment paper or foil gently over the top to prevent further browning.
Which shelf in my oven
Always cook in the middle of your oven unless a recipe specifies otherwise…the heat is more uniform this way. Most ovens heat from the bottom.
Making gum free gluten free bread?
There are a couple of reasoning to replace the gum (xanthan or guar) in your recipes.
- They cause you digestive upset. While not everyone reacts this way, it is a possibility.
- Xanthan gum is often derived from corn, and therefor often derived from GMO ingredients.
In this recipe, I use 1/4 cup psyllium to add the lovely, bendy pliability to the bread’s structure. I love to use psyllium in lots of recipe, like my wholegrain gluten free tortillas, and my keto bread with almond flour. It’s also used in these gluten free bagels!
While I have not tested it yet, you could try subbing 1 1/2-2 teaspoons gum for the psyllium powder.
If you have the coarser ground psyllium HUSKS, then use 1/2 cup instead.
Using a kitchen scale?
I have provided both the dry measurements, as well as the weights for those who use a kitchen scale.
I love my kitchen scale and use it regularly. And it can really help improve recipe success when exact measurements can be used.
So while it is not a requirement for this recipe, if you are serious about baking and cooking, I totally recommend having this tool on hand!
Shaping gluten free yeasted bread loaves
Gluten free yeasted breads are batter style, not kneaded and elastic like traditional gluten breads.
This makes them much easier and quicker to prepare, but they can require a bit of technique.
Shockingly, no special tool required to form a loaf shape you are familiar with! Just a regular old rubber spatula and some water!
Run the spatula under water, and start shaping and smoothing the sticky batter. Add more water to it when it begins to grab and stick again.
Storing this gluten free brown bread:
My preferred method is to slice a few pieces (waiting until fully cooled of course), and store the cut pieces and the remaining loaf in an airtight container. If it takes many days, then storing in the fridge will add a couple days shelf life to the bread.
If you know it will take more than a few days to consume the bread, store your slices separately in the freezer and remove on demand.
I like to to keep a couple of super this ‘sacrifice slices” on the end to help prevent the remaining gluten free bread from drying out. This is also why I only slice a few as needed, cut slices dry out faster.
Additional gluten free breads to try:
- My gluten free oatmeal bread is well loved! Vegan too!
- Gluten free English muffins have nooks and crannies and are a snap to make…no dairy or eggs!
- You will love my wholesome fiber filled nut free keto bread!
- We enjoyed this gluten free sandwich bread!
- If you love to slather fresh bread in jally like us, try this peach jam!
Wholegrain Gluten Free Brown Bread Recipe:
If you try this wholesome loaf, be sure to come back and leave a start rating and comment below!
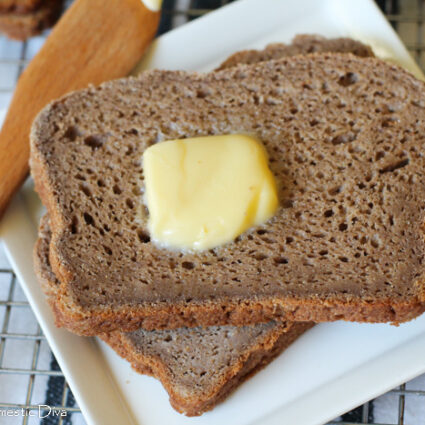
Wholegrain Gluten Free Bread
Ingredients
- 3/4 cup warm-hot water should be able to place finger in the water without scalding.
- 1/4 cup palm sugar same as coconut sugar
- 1 tablespoon yeast
- 1 cup teff flour 160g
- 1 cup sorghum flour 140g
- 3/4 cup tapioca flour 100g
- 1/4 cup sweet rice flour 40g
- 1/4 cup psyllium powder 45g. If using psyllium husks, use 1/2 cup
- 1 tablespoon baking powder
- 1 1/4 teaspoon sea salt
- 1 1/4 cup kefir regular or dairy free
- 2 large eggs
- 1/4 cup avocado oil
Instructions
- Preheat the oven to 200 degrees and grease a sturdy loaf pan.
Proof yeast
- In a glass measuring cup, whisk the warm hot water with the palm sugar. Stir in the yeast, then set aside to get puffy for 3-5 minutes.
Mix dry ingredients
- While the yeast proofs, place all the dry ingredients through sea salt in a large mixing bowl. Mix well.
- Once the yeast is puffy and proofed, pour into the dry mix along with the remaining ingredients.
- Start your mixer, gradually increasing the speed. Beat for 2 minutes.
- Using a sturdy spatula, scrape the sticky dough into the pan.
- Wet your spatula and press and smooth out the batter into a loaf shape, wetting it again when it becomes sticky.
- Hot 'cancel on your oven. Place the loaf inside the warm oven covered with a piece of wax paper, or parchment and let rise until the loaf is just at the pan's edge. Remove from the oven, and let it continue to rise while you preheat the oven to 350 degrees.
- Once preheated, bake the loaf for approximately 45 minutes. You can use a thermometer to check the internal temp. I usually look for at least 190 degrees.
- let the loaf cool for about 10 minutes, then invert onto a cooling rack. The best texture and ease of cutting is achieved after it has fully cooled.
- Store bread in an airtight container.
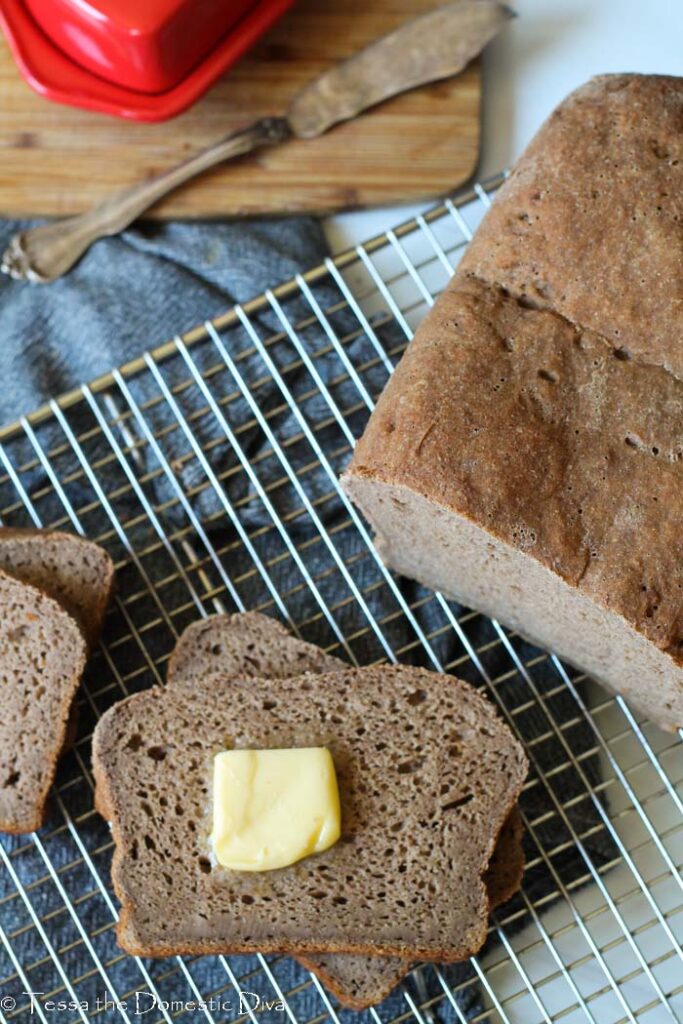
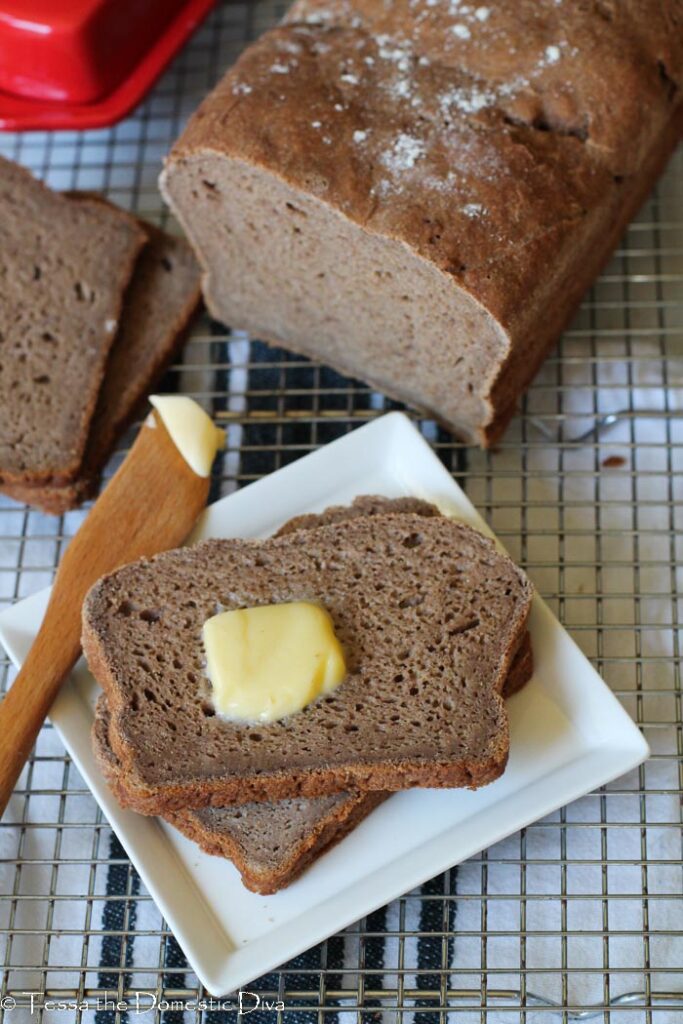
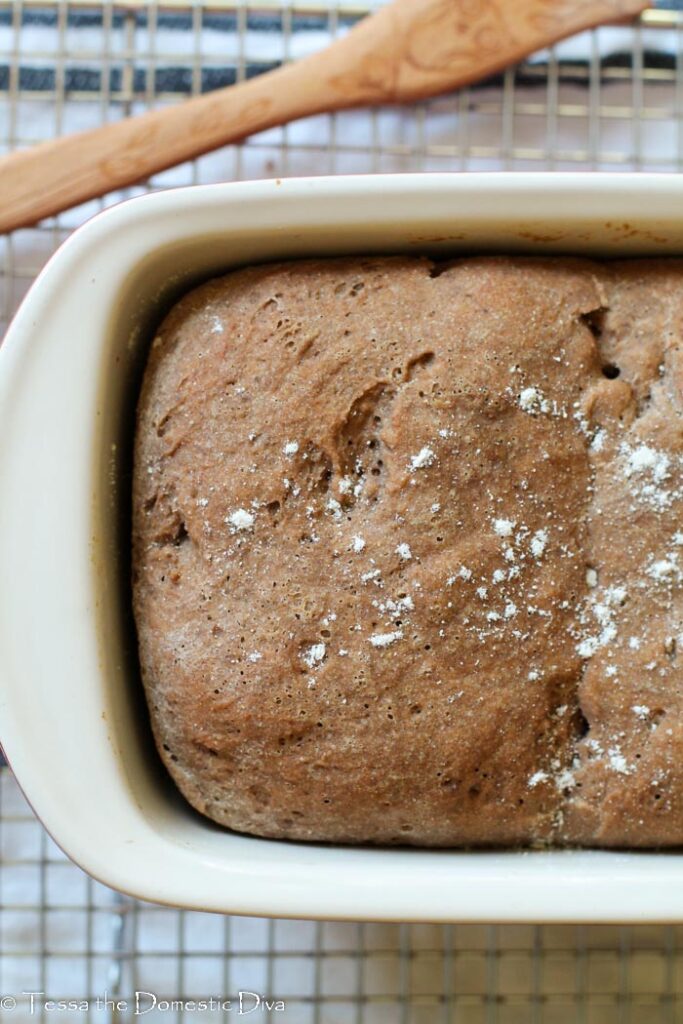
This bread is delicious, healthy and it keeps for days without the need to slice and freeze! Thank you so much.
You’re very welcome!
Great recipe! I appreciate that it uses mostly whole grain flours, yet still creates a loaf that’s soft and not crumbly. I did need to extend the baking time to 60 minutes, but that could just be my oven. Also, thanks for providing measurements in grams. It’s so much easier to get consistent results that way!
Awesome Karen! I am trying to add weighted measurements to many of my baked goods recipes for this exact reason! So glad you liked it!
Hi, I’m excited to try this recipe! I had a couple questions:
1. Can I swap tapioca flour for cassava flour?
2. Can I use a different sweetener like honey or maple syrup?
3. I saw you mention in a comment you can use milk instead of kefir. Would the measurement still be the same?
Thanks!
1. Cassava absorbs more water than tapioca, so back off by 20%. Or use another starch, but yes, will work!
2. yes, any sweetener
3. measurement the same for liquids regardless! Could even use water!
Good luck!
I am scared. I have just poured my batter into the bread pan. I expected a sticky dough, but this is definately a batter….like cake batter. I measured and double checked everything. What did I do wrong? The only change I made was to substitute ground flax for the psyllium. I am quite allergic to psyllium. Any suggestions? I will follow up and let you know how it turned out
Flax does not have the same gelling/water absorption strength as psyllium, likely the problem. It will gel more with the heat, but likely they were too wet for the tested results. Gums like xanthan or guar would help, possibly more flour, possibly more flax or chia meal. But without testing those options, I can’t tell you how much.
I would like to make this recipe today but I do not have kefir. Can I substitute this ingredient?
yes, with any favorite thin yogurt (if greek style, then thin with water to make total amount). ALso, should work well with plain milk of choice or plain water.
I’m so glad I found this recipe. It’s excellent. I substituted the sorghum for brown rice flour and don’t eat egg yolks, so I used egg whites. It turned out perfectly and is the best GF whole grain sandwich bread recipe out there. (It also toasts beautifully.)
Yay! So glad you enjoy it! I play with the flours every time I make it, it’s pretty flexible!
I have to be egg free. Do you think an egg substitute would work in this bread?
Totally different beast, not sure it would, but have never tried. I have a couple that are egg free too: https://www.tessadomesticdiva.com/sweet-brown-oatmeal-bread-gluten-free/, https://www.tessadomesticdiva.com/moist-soaked-teff-millet-bread-gluten-free-vegan/, or https://www.tessadomesticdiva.com/gluten-free-vegan-wholegrain-english-muffins/
Have you tried this one without the egg? I see your notes on egg replacers. I am wondering if I could use sweet potato…
Hi Tessa, my GF girlfriend (GF GF?! Haha!) and I can’t wait to try this recipe. I’m used to using a Pullman pan that takes 5-6 cups of batter. How many cups of batter does this recipe make?
Hmmmm. Maybe 4-5?
This looks amazing! Can it be converted to use a bread machine with a GF setting?
Never tried Terri, I don’t have a bread machine! Here’s a bread machine one with similar flours you could work with? https://www.glutenfreealchemist.com/gluten-free-bread-machine-recipe-bread-maker/
I’m so glad to have found this recipe!!! It came out perfect, even though I substituted flours I have on hand (buckwheat instead of sorghum, Bob’s Red Mill 1-to-1 instead of sweet rice and tapioca flours). The texture and flavor are wonderful! Now I don’t have to pay $8 for a loaf of GF bread from the healthfood store.
I’ve found this recipe super flexible to flour substitutions Cheryl! So glad you liked it! Did you use raw buckwheat groats or toasted buckwheat flour?